Advanced bank reconciliation is a new feature of AX2012, available from R2 onwards.
This new feature allows for the import of bank statements that can be automatically reconciled from within AX2012. This blog shows how to perform an advanced bank reconciliation and assumes that AX has been setup correctly.
Import The Bank Statement
Once a bank account has been set up to allow bank statement imports, the “Reconcile” group becomes available in the action pane.
Click the “Bank statements” button to open the bank statements list page.
The following form will be opened, click the “Import statement” button to continue.
Select the following :
- Bank account – Select the bank account that the statement will be imported into.
- Statement format - Select the appropriate bank statement format.
- File folder – Set the inbound folder where the files to be processed are held.
- Import all files in this folder – Tick this is all files in the folder are to be imported.
- Select file – Use this option to manually select a specific file. Reconcile after import – Select this to perform automatic reconciliation (Only if the rules have been set against the bank account).
Click Ok to continue.
When opened, the following will be displayed.
The “Net amount” and the “Total lines” fields will automatically populate when the “Validate” button has been clicked.
The bank statements must be validated before a reconciliation can be performed.
Bank Reconciliation
After an electronic bank statement has been imported and validated in the Bank statements form, the bank statement can now be reconciled using the Bank reconciliation worksheet form.
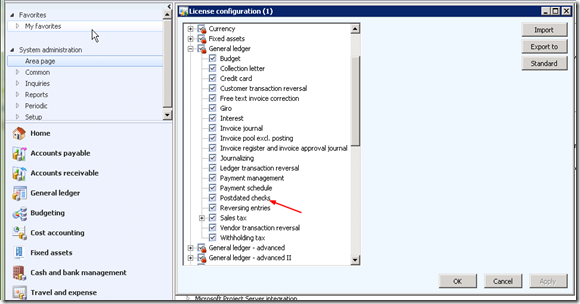
Note : The Bank reconciliation option is only available if the Advanced bank reconciliation check box is selected in the Bank accounts form on the Reconciliation FastTab. This can be performed in one of two ways :
Click Cash and bank management > Journals > Bank reconciliation
Or
Click Cash and bank management > Common > Bank accounts. On the Action pane, in the Reconcile group, click Bank reconciliation.
Click
New to create a new bank reconciliation record
Select the appropriate bank account, this will select the bank statements that have not yet been reconciled.
Note : Any previous un-reconciled balances will be added in to this bank reconciliation journal.Click the “Lines” button
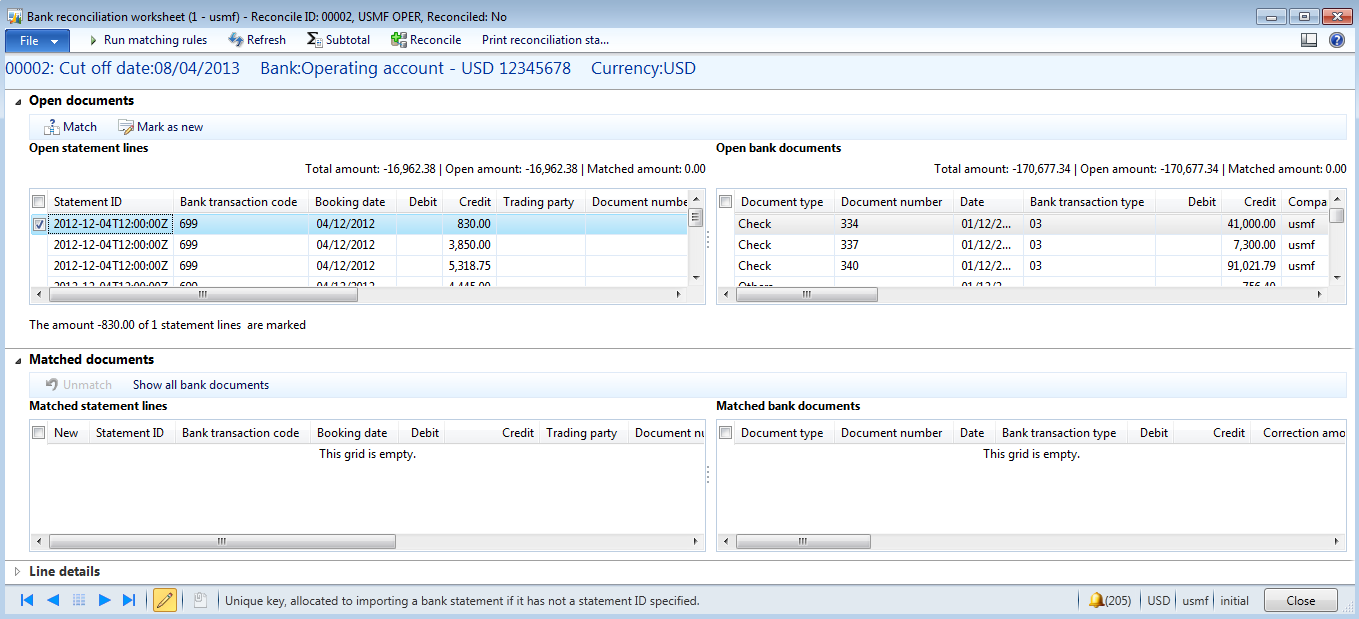
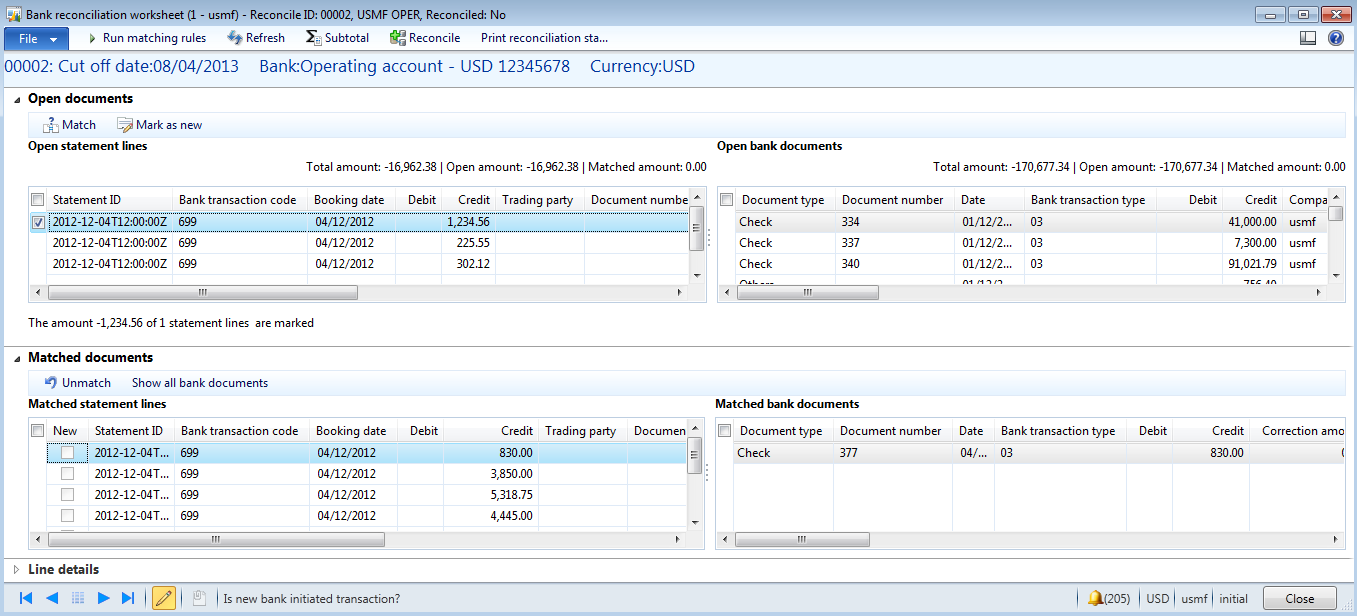
The reconciliation worksheet will be displayed, this worksheet is split into four distinct grids :
- Top left – Open statement lines – Imported un-reconciled bank statement lines
- Top right – Open bank documents – Un-reconciled AX bank transactions
- Bottom left – Matched statement lines – Matched bank statement lines Bottom right Matched bank documents – Matched AX bank transactions

The Line details FastTab will show additional line details for the selected statement line.
To match using the matching rules that have been set up, click the “Run matching rules” button.
Select either to run individual rules, or to run a set of rules.
Once run these match all transactions that meet the criteria set on the rules.
There is a one-to-many relationship between the “Matched statement lines” and the “Matched bank documents”.
Transactions can be manually matched by selecting the appropriate line(s) in both the Open statement lines grid and the Open bank documents grid, then clicking the “Match” button.
If there is a new transaction on the bank statement that does not yet exist in AX (eg bank charges), then mark the transaction and click “Mark as new”.
Once you have completed your matching process, click “Reconcile” to perform the reconciliation process.
If there are any transactions that you have marked as new, these will need to be posted.
Browse to : Cash and bank management > Common > Bank statements, then edit the appropriate statement.
Select the line marked as “New”
On the line details FastTab, enter the appropriate financial details and financial dimension values
Then click “Post” to post the transaction.
The transaction will now have been posted and reconciled.
Cancel A Reconciled Transaction
Individual “reconciled” bank transactions can have the reconciliation status set back to un-reconciled.
To do this browse to : Cash and bank management > Common > Bank document list
Select the reconciled transaction, then click “Reconciliation relations”
From the Reconciliation details form, click the “Cancel reconciliation” button
Click OK to continue
The transactions will appear on the next reconciliation as un-reconciled items
The bank statement will have been fully reconciled now.


