This article describes how to use the payment journal with a deposit slip in the accounts receivable module of Dynamics AX 2012. To create a deposit slip, you can use the Enter customer payments form or directly enter the payment in a journal.
Option A: Payment journal & Enter customer payment form
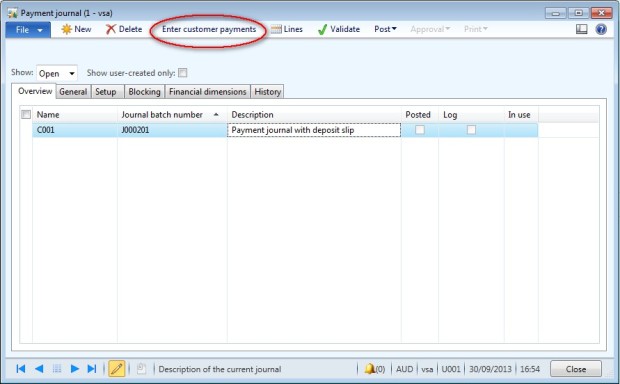
Access: AR > Journal > Payments > Payment journal
- Create a new journal : click on new
- Select a journal name
- Click on “Enter customer payments”
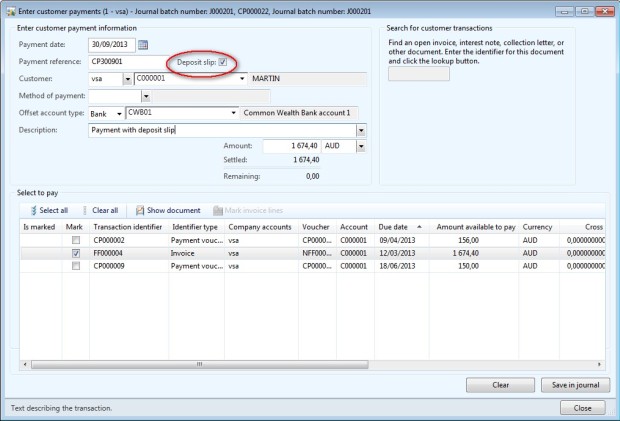
- Select a customer,
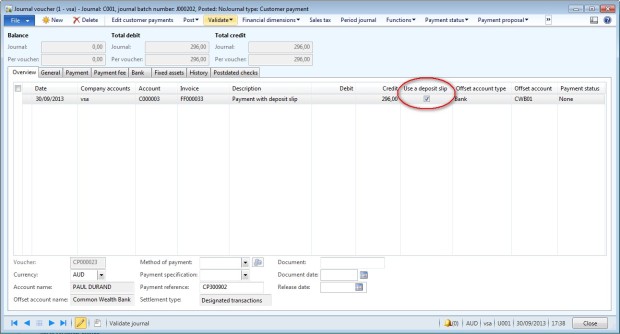
- Select deposit slip box,
- Select invoices paid and other option you need,
- Enter the payment reference,
- Enter a description,
- Enter the offset account (bank account),
- Enter the total amount of the payment in the field “Amount”,
- Click on “Save in journal” and close the form.
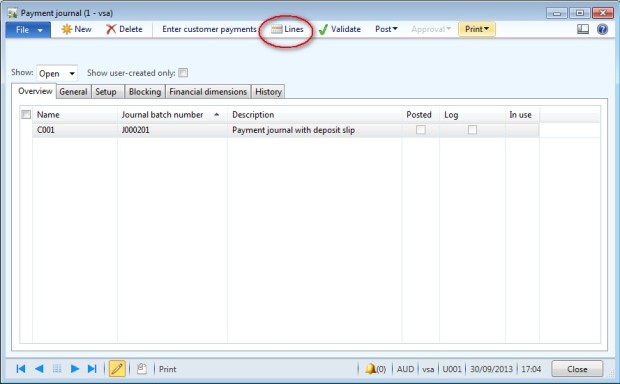
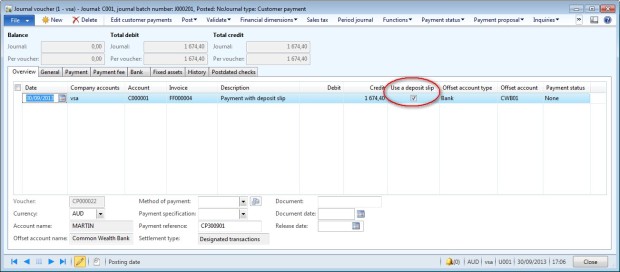
- Go to the lines of the journal
- All informations are filled,
- Check and complete if necessary.
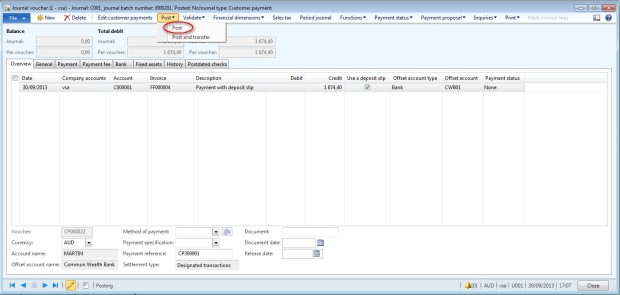
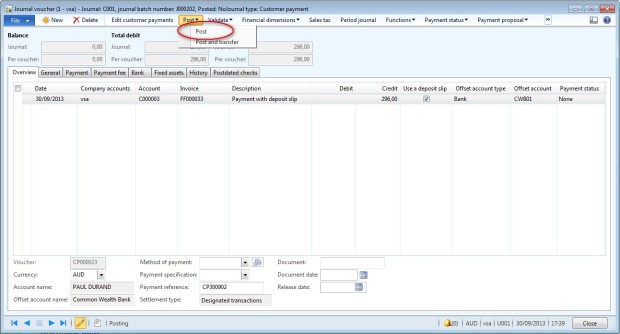
- Post the journal.
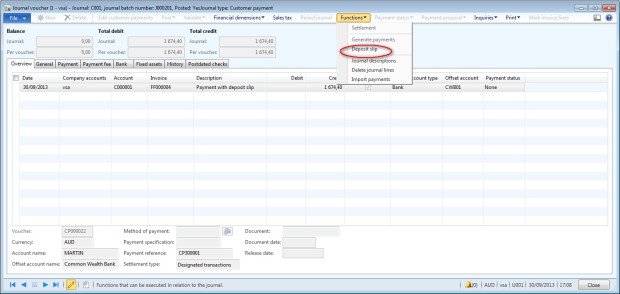
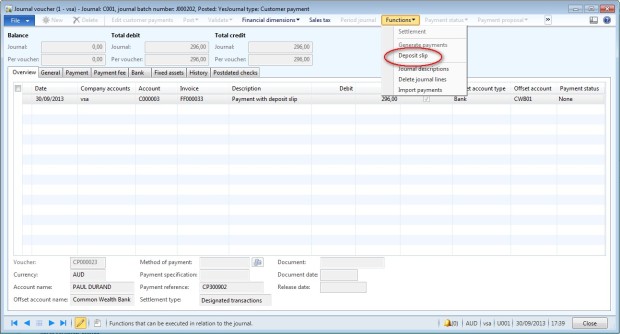
- Go to Function > Deposit slip
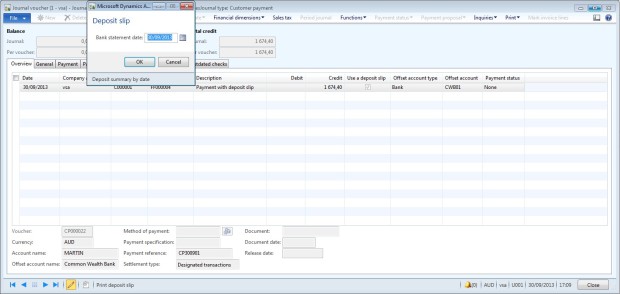
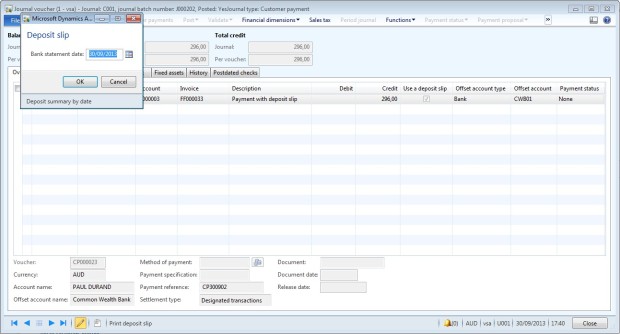
- Enter the bank statement date and print the deposit slip.
Option B: Payment journal & settlement function or payment proposal
Access: AR > Journal > Payments > Payment journal
- Create a new journal : click on new
- Select a journal name,
- Enter a descrption,
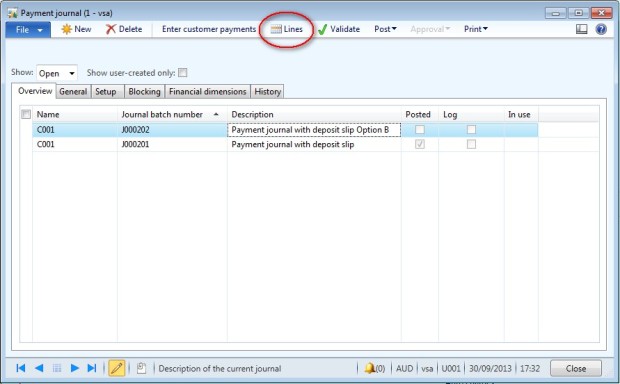
- Click on “Lines”.
- In the field “Account’ select the customer account and click on Function> Settlement
- Or use the payment proposal function.
- Complete other informations if needed,
- Enter the payment reference,
- Select deposit slip box.
- Post the journal
- Go to Function > Deposit slip
- Enter the bank statement date and print the deposit slip.
Manage deposit slip
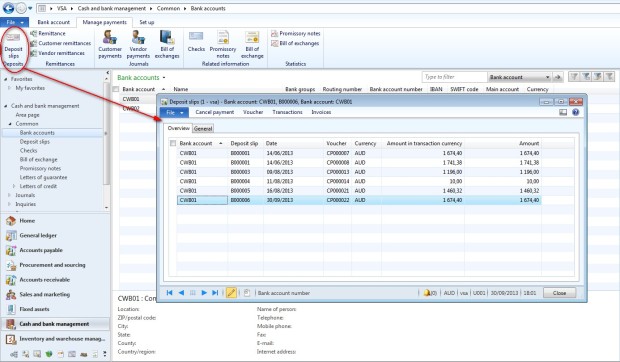
Use the deposit slip form to to view deposit slips for a bank account. You can open the voucher or the list of invoices and transactions linked to the deposit slip. In this form, you can also cancel a payment transaction on a deposit slip.
Access: Cash & Bank management > Common > Deposit slips or Cash & Bank management > Common > Bank accounts > Tab Manage payment > Deposit slip


No comments:
Post a Comment